Welcome to Wannabot! If you’re here, chances are you’ve decided to enter the exciting world of chatbots – you’ll soon be one more Wannaboter!
Before we start, let me recommend a visit to the Basic Terminology we use in the design of chatbots. It will only take a few minutes and make things easier for you.
Let’s start by creating a small project that will allow you to test the basic functionalities of the platform:
First, you must create an account and validate your email at: https://console.wannabot.io/.
1. Configuration
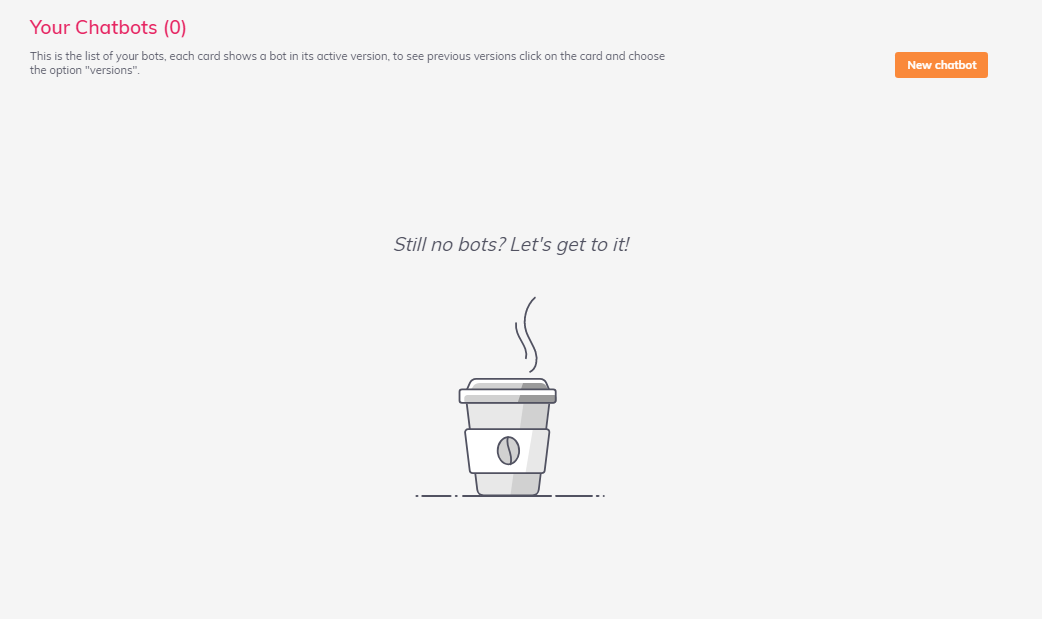
Once created, and you have logged into your account, you will find the “Your chatbots” tab where all the chatbots you create will be stored. Click on “New chatbot” to start with your first design.
1. Configuration
Once created, and you have logged into your account, you will find the “Your chatbots” tab where all the chatbots you create will be stored. Click on “New chatbot” to start with your first design.
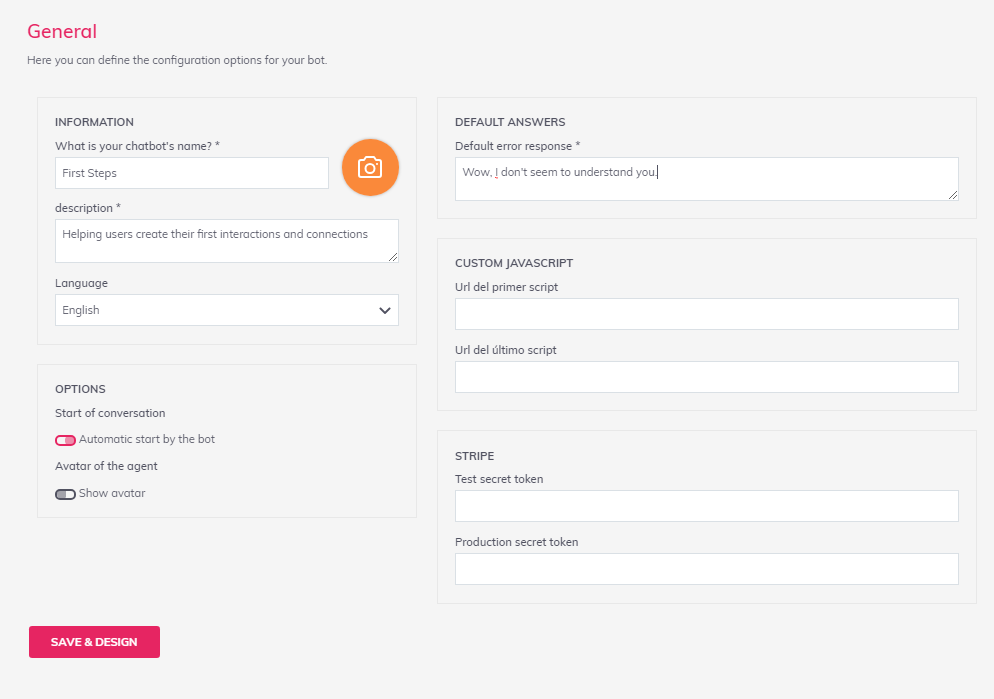
Once you access the configuration screen you must include the basic data to start with the design of the chatbot:
- Name of the chatbot / project
- Chatbot description
- Language
- Default error response: we use it when the chatbot is not able to understand the user’s response. (You can see more information in Basic Terminology)
- Options:
- The “Automatic start by bot” option only works for “Web Deployments”. When the chatbot loads on the web page, it will load the first message automatically.
- Activate the Avatar, if you want the image associated with the chatbot to appear when you launch an interaction or message.
To start creating your chatbot dialogs, click on “Save and design“.
2. Creating dialogs
Creation of interactions
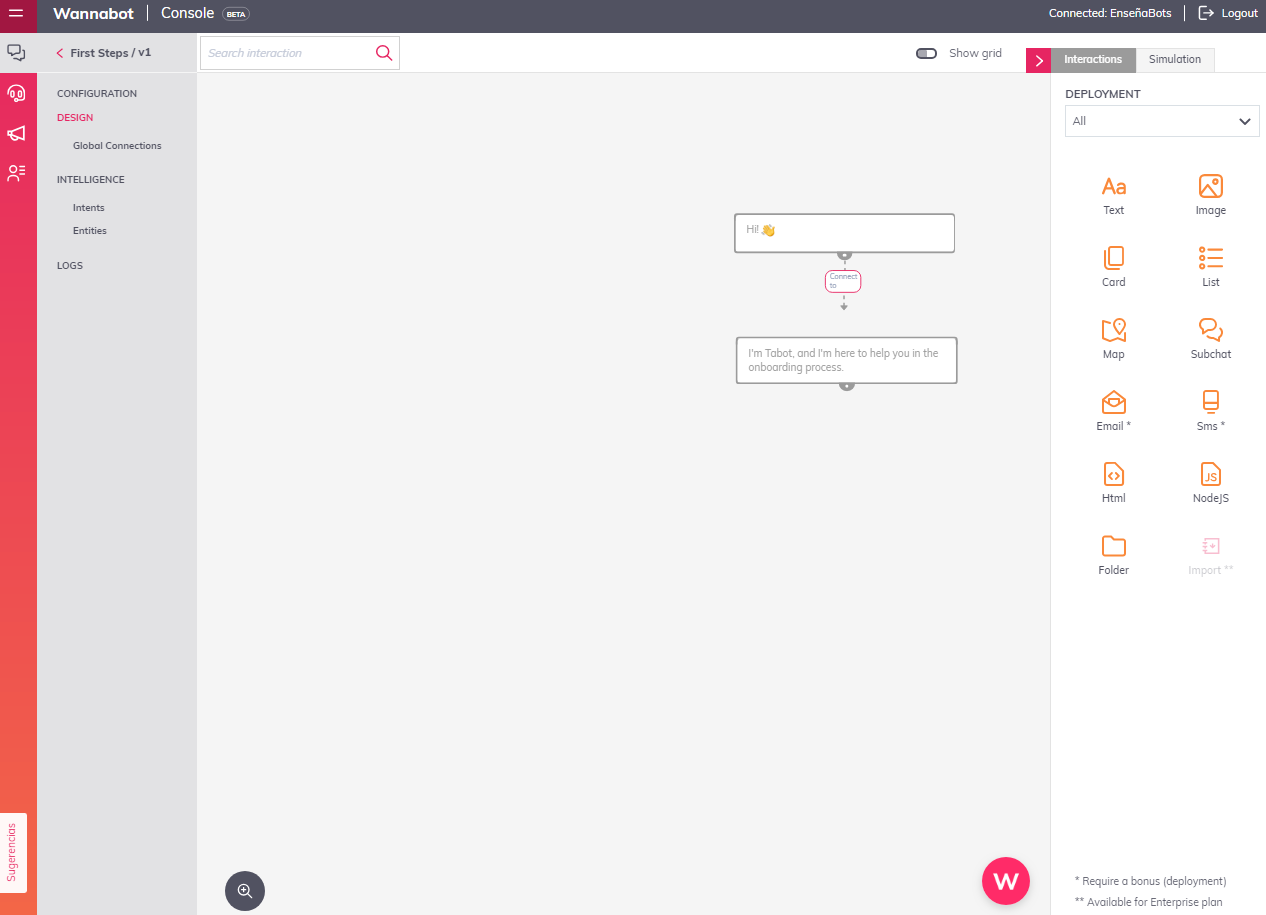
To create the first message your chatbot will launch, from the interactions tab click on the “Text” type interaction, and drag it to the central part of the map.
If you lose this view window, you can return to “Interactions” by clicking on the red arrow in the upper right corner.
![]()
Once on the map, select a “Name” for your interaction. When you have conversations with many interactions, the name will help you find them easily from the search engine at the top.
In “Bot says“, type the greeting you want your bot to have and click on save.
Repeat the process. Drag another text interaction, and write a presentation message. For example: “I’m Tabot, and I’m here to help you in the “Onboarding” process.
Connect the interactions
To connect the interactions click on the grey circle at the bottom of the first interaction, and drag it to the second interaction. When asked if you want it to be conditioned, select NO.
The unconditioned connection indicates that after the first interaction, the second one will be displayed automatically without waiting for the user to take any action.
Try Bot
To see how your bot is doing click on “Simulation” in the upper right corner. From there you can interact with the bot just like a user would.
You’ve already learned the basics!
If you want to continue improving your knowledge about Wannabot, try repeating the tutorial we have taught you.
Then I recommend that you continue with the rest of the tutorials so you can get the most out of Wannabot.